
Lakeville Wood Flooring has refinished hardwood floors across Lakeville, MN for more than 20 years, serving surrounding cities including Farmington, Apple Valley, Burnsville, Savage and Elko New Market. Full sanding, screen-and-recoat, color changes, stair work and repairs blended into a refinish are all part of it, on solid strip flooring, wide plank and engineered floors with enough wear layer to allow it.
The quote carries a written grit sequence and finish schedule. That is a deliberate choice: the number of cuts and the number of coats are the two variables that decide both what a refinish costs and how it turns out, and leaving them unwritten is what lets a cheap bid be cheap. When they are on the page, you can compare two quotes on the same terms instead of on a square-foot rate that hides them.
We also settle recoat against full sand on your floor rather than from the doorway. A test patch answers it, because bare wood anywhere on the field disqualifies a screen-and-recoat, and we show you the spot that made the decision. Where an engineered floor is involved, the wear layer gets measured first — under the sanding threshold the honest answer is replacement, and that is better said now.
Recoat or Full Sand: Settling It on the Floor
What a Screen-and-Recoat Can and Cannot Do
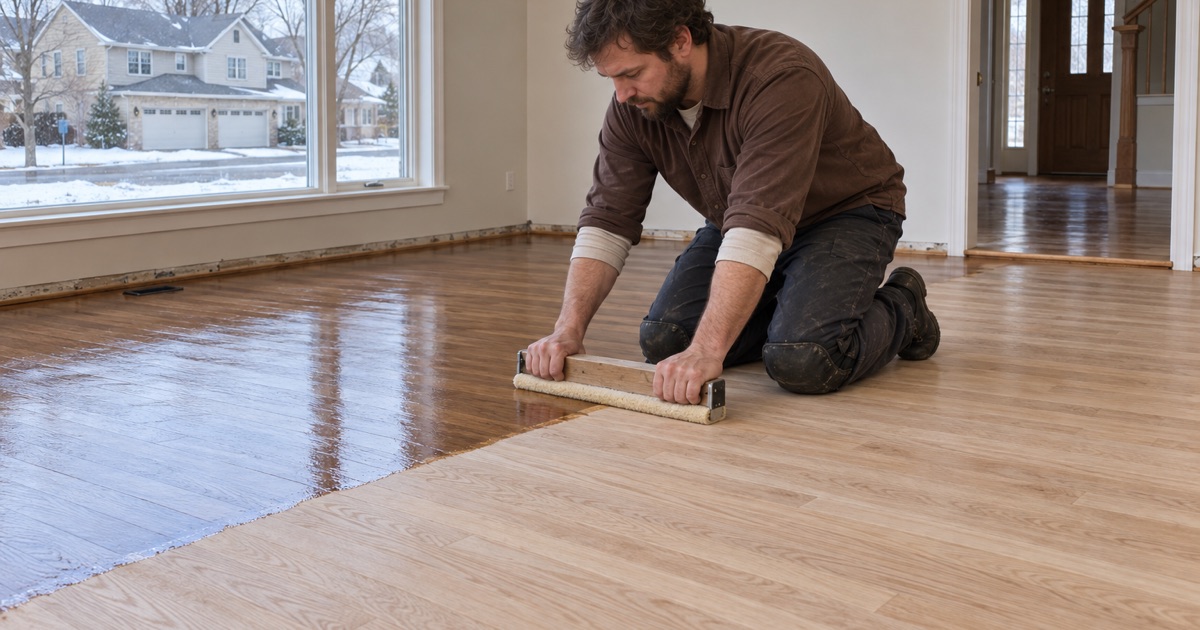
A buff and coat abrades the existing finish with an abrasive screen and lays a fresh coat over it, restoring sheen and buying years at a fraction of the cost of a full sanding. It does nothing about scratches that reach the wood, about color, or about a floor that has gone gray from water. What it needs is finish everywhere, because a coat will not bond to bare wood and will peel away in sheets from the boundary.
The Test Patch That Decides It
We abrade and coat a patch in the worn area rather than in a corner where the answer is easy, then look at how it takes. Where it flashes or refuses to bond, the floor needs a full sand and you have seen why. This costs a little time at the quote stage and it removes the single most common source of argument between a homeowner and a flooring contractor.
Wear Layer on an Engineered Floor
The sandable material on an engineered floor is only the veneer above the tongue, and below the sanding threshold a drum sander reaches the tongue and destroys the board. We measure that thickness at a doorway or a vent cut before quoting a sanding, and where it is too thin we price replacement instead. Discovering it mid-job is the most expensive way to learn it.
Sanding: The Sequence and What Each Cut Does
The 36-50-80 Grit Sequence
The coarse cut removes the old finish and flattens overwood at the board joints; the medium cut erases the coarse scratch; the fine cut refines the surface so stain and finish take evenly across the room. Each pass exists to undo the one before it, which is why skipping the middle abrasive leaves a pattern that only appears after the first coat. The sequence your floor is getting is named on the proposal.
Drum, Edger and the Border Between Them
The field is cut with a belt or drum sander and the perimeter with an edger, and the two machines leave different scratch. Picture framing — a visible darker border around the room — is what happens when the edger work is never blended into the field. We follow with a buffer or multi-disc sander to marry the two, which is the step that separates a refinish from a sanded floor.
Chatter, Swirl and Sand-Through
Chatter marks are regular ripples from a drum that is out of true or run too fast; edger swirl is circular scratch left unblended; sand-through is cutting past the wear layer or through the tongue on an engineered board. All three are process faults rather than wood faults, and all three are visible only once a coat goes on. Maintained machines, a full sequence and a measured wear layer are what keep them off your floor.
Color, Stain and Getting It Right Before It Is Permanent
Penetrating Stain on Your Own Boards
Stain behaves differently on every species and on every sanding grit, so a color approved on a manufacturer chip tells you very little about the floor you own. We sample on your boards, in the room, in your light, and we sample the actual finish system going over the top, because a waterborne coat and an oil-modified coat sit differently on the same stain.
Water Popping for an Even, Deeper Take
Water popping raises the grain deliberately before staining so the wood accepts color more deeply and more uniformly. It is the difference between a rich, even dark floor and one that looks patchy across the grain. It is also irreversible once the stain is down, so it is decided at the sample stage and named on the schedule rather than improvised.
Maple, Hickory and the Species That Fight Back
Hard maple is dense and closed-grained and it blotches under penetrating stain; hickory swings wildly in natural color from board to board. Neither is a reason to avoid a color change, but both change the method — dye stains, conditioners and sometimes accepting a lighter target than the photograph that started the conversation. We say which of those your floor will require before you commit to a color.
Finish Systems, Coats and Cure
Waterborne, Oil-Modified and Hardwax Oil
Waterborne polyurethane dries clear and fast and keeps the wood close to its raw color; oil-modified ambers steadily over the years and needs longer between coats; hardwax oil sits in the wood rather than on it, wears differently and can be spot-repaired without recoating a room. Two-component waterborne finishes are the most durable of the group and the usual specification for a busy household.
How Many Coats, and Why the Number Is on the Quote
Coats are where a quote quietly gets cheap. A sealer plus two coats and a sealer plus three coats look identical on the day and wear very differently over a decade, so the finish schedule names exactly what you are buying. It also names the sheen — matte, satin or semi-gloss — because sheen is chosen at the quote and cannot be adjusted afterward without recoating.
Cure Time and When the Furniture Comes Back
Dry, walkable and cured are three different states, and the gap between them is where new floors get ruined. Light foot traffic returns first, then furniture, and rugs last of all, because a rug laid on an uncured finish traps solvent and marks the floor permanently. We hand over the return-to-service times for your specific finish in writing with the quote rather than estimating them on the final day.
Our Step-by-Step Hardwood Floor Refinishing Process
Measure, Patch-Test and Quote in Writing
The first visit records interior relative humidity with the specified 30 to 50 percent band printed beside it, measures wear layer where an engineered floor is involved, and runs the recoat test patch. The grit sequence, the finish system, the number of coats and the sheen all go on the proposal, so nothing about scope is left to be settled while the work is underway.
Prepare the Room and Contain the Dust
Furniture comes out, base shoe is removed where the job calls for it, doorways are sealed, and the sanders are set up to run into a HEPA vacuum system. In a house that cannot open its windows for much of the year, containment and ventilation are planned together rather than treated as one problem.
Repair, Then Sand the Full Sequence
Board replacement, dutchman patches and fastener work happen before the first cut, so repairs are sanded flat with the rest of the floor rather than showing through the finish. The field and the edges are then cut in sequence and blended with a buffer, and the floor is inspected under raking light before any stain or sealer goes down.
Coat, Cure and Hand Back
Stain is applied to the approved sample, the sealer and coats follow the written schedule, and each coat is abraded between applications so the next one bonds. The floor is then left alone for the cure it needs. You get the walkable date, the furniture date and the rug date in writing, which is the last thing we hand over.
- 20+ Years in the Trade
- Free Written Estimates
- Moisture Readings on Every Quote